DIY Christmas Ornaments | Pom Pom Snowman (2026)

Trying to make the most of diy christmas ornaments pom? You are in the right place. Below we break it down in plain English, with practical tips you can actually use.
Key Takeaways
- I am always looking for something new to add to my Christmas tree each year.
- My tastes haven’t changed much from year to year.
- I still like the classic red and white and I just absolutely love snowmen!
I am always looking for something new to add to my Christmas tree each year. My tastes haven’t changed much from year to year. I still like the classic red and white and I just absolutely love snowmen! So I wanted to go with something along those lines when I was thinking of making fun DIY Christmas ornaments this year. I also wanted something that the kids could get involved with.
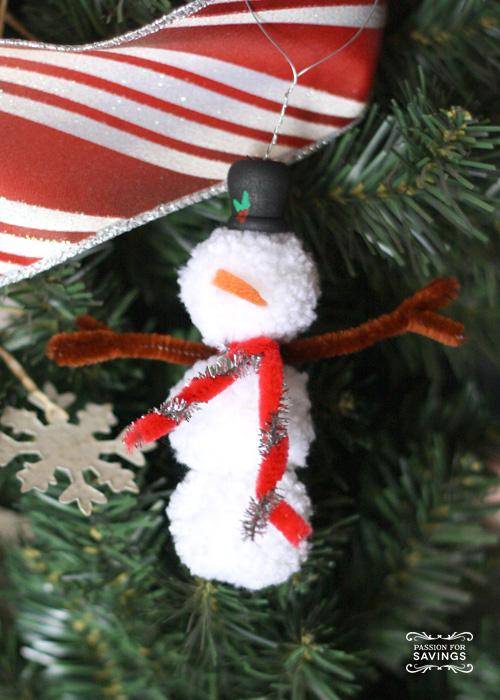
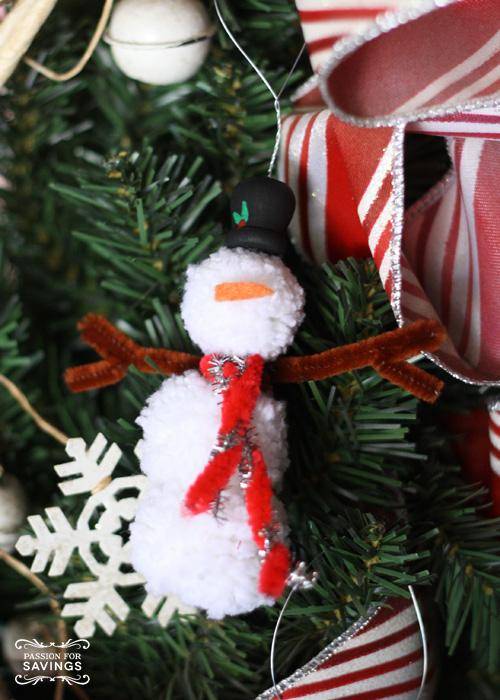
I love how these pom pom snowmen turned out! I started out by making small pom poms with some white yarn I had in my cupboard. Here is a tutorial on how to make mini pom poms if you want to give it try for this project. They are simple to make, they just take a little time to get them to look the way you want.
For a hat for the snowman I found these candle cups with a hold in the bare wood section of the craft store. They were by the wooden spools which you could also use if you wanted to cut them in half. I used acrylic paint to paint the hats black and then added a little holly to brighten them up. I used a small paint brush for the holly berry leaves and the end of a paint brush for the berries.
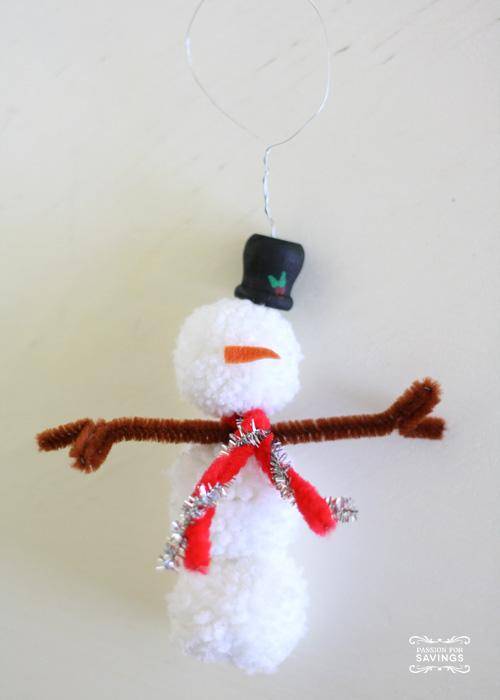
For the arms and the scarf I decided to use pipe cleaners. I like that you can get any color you want, and that they are simple to bend to make anything you want. For the arms I just decided how big I wanted one side, twisted a loop in the middle and then did the other side to match. For the scarf I just twisted 2 pipe cleaners together, decided how long I wanted it, looped it in the middle and did the other side before I trimmed it.
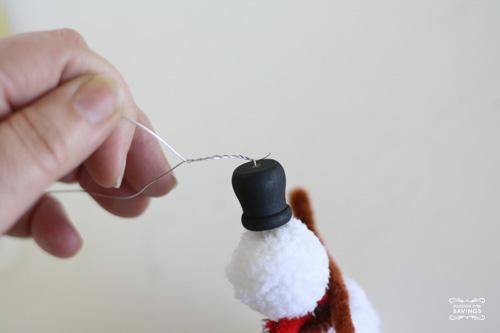
To assemble the snowman I used some thin gauge wire. I cut about a 12 inch piece and made a hook at one end. Then I threaded it through the first pom pom and pushed it all the way through until the hook grabbed the bottom. It took a little finesse to thread the pom poms through, so be a little patient with that step. I continued to add my pom poms and arms, scarf, pom pom and finally the hat. (I liked it a little off to the side.)
I then created a big loop and then wrapped the remaining wire around itself toward the snowman and trimmed it. See how I left that little end sticking out? That lets you hold down the hat and keeps all the pieces from moving around too much.
I used a piece of orange felt and cut out a small carrot nose. Just glue that on with hot glue or craft glue.
Aren’t they so cute all hung up along with my red and white decorations?!?! They are a perfect addition!
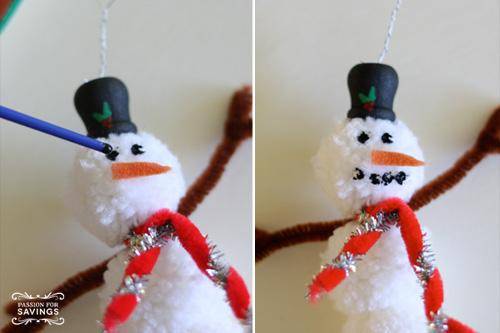
We had mixed feelings about the faceless snowman so with the end of the paint brush I added some eyes and mouth.
I like them with out the eyes and mouth, but either way I think they are fun and the kids would love to help make them.
These DIY Christmas ornaments would be fun for a class party, teacher gifts, attaching to your neighbor gifts, or just adding to your own decorations.
Happy Crafting!
Final Thoughts
Before you check out, double-check diy christmas ornaments pom against current offers and any coupons you can stack. Small habits like this add up to real savings over a year.
Originally published at passionforsavings.com.
Heather Schisler
Our editorial team researches and verifies every money-saving guide before publishing. Editorial policy · About us


